
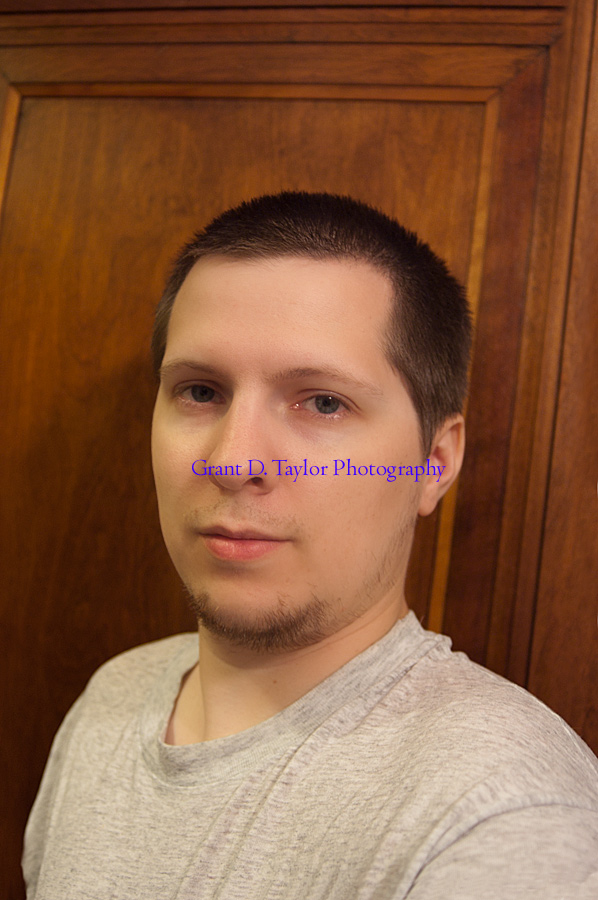
This is the original image. When shooting the image I did not correct for white balance at all and when opening the file I just used the as shot settings in the camera raw. It is a pretty awful snapshot.

The first thing I did was White balance and color correction. I used the Camera Raw settings for tungsten and hit the auto button. Soon I will work on mastering manually doing that but for now it is to daunting to me. The white balance helped a lot. It is already much better.

The next thing I did was experiement with the photoshop CS5 feature called puppet warp. I have never used it and didn't really know what I was doing but managed to stumble on a happy change. I slightly rotated the whole image while moving my right arm close to my body making me appear thinner. I had to use the clone stamp tool though to fill the corners back in. I also used the spot healing brush to correct a few blemishes on my face.
The next step was to make my skin appear better. I used the guide from the blog I listed back at the top. I will not go into the steps because it is his guide and can be viewed at his blog. But my skin does look much better.

This is the final image next to the original. It is a very large improvement. It is even more apparent when viewed at a large view. A lot of things could be done to improve this still but this is a good start. I may continue to use this image to keep practicing and making changes.
You don't take a photograph, you make it. ~Ansel Adams
No comments:
Post a Comment